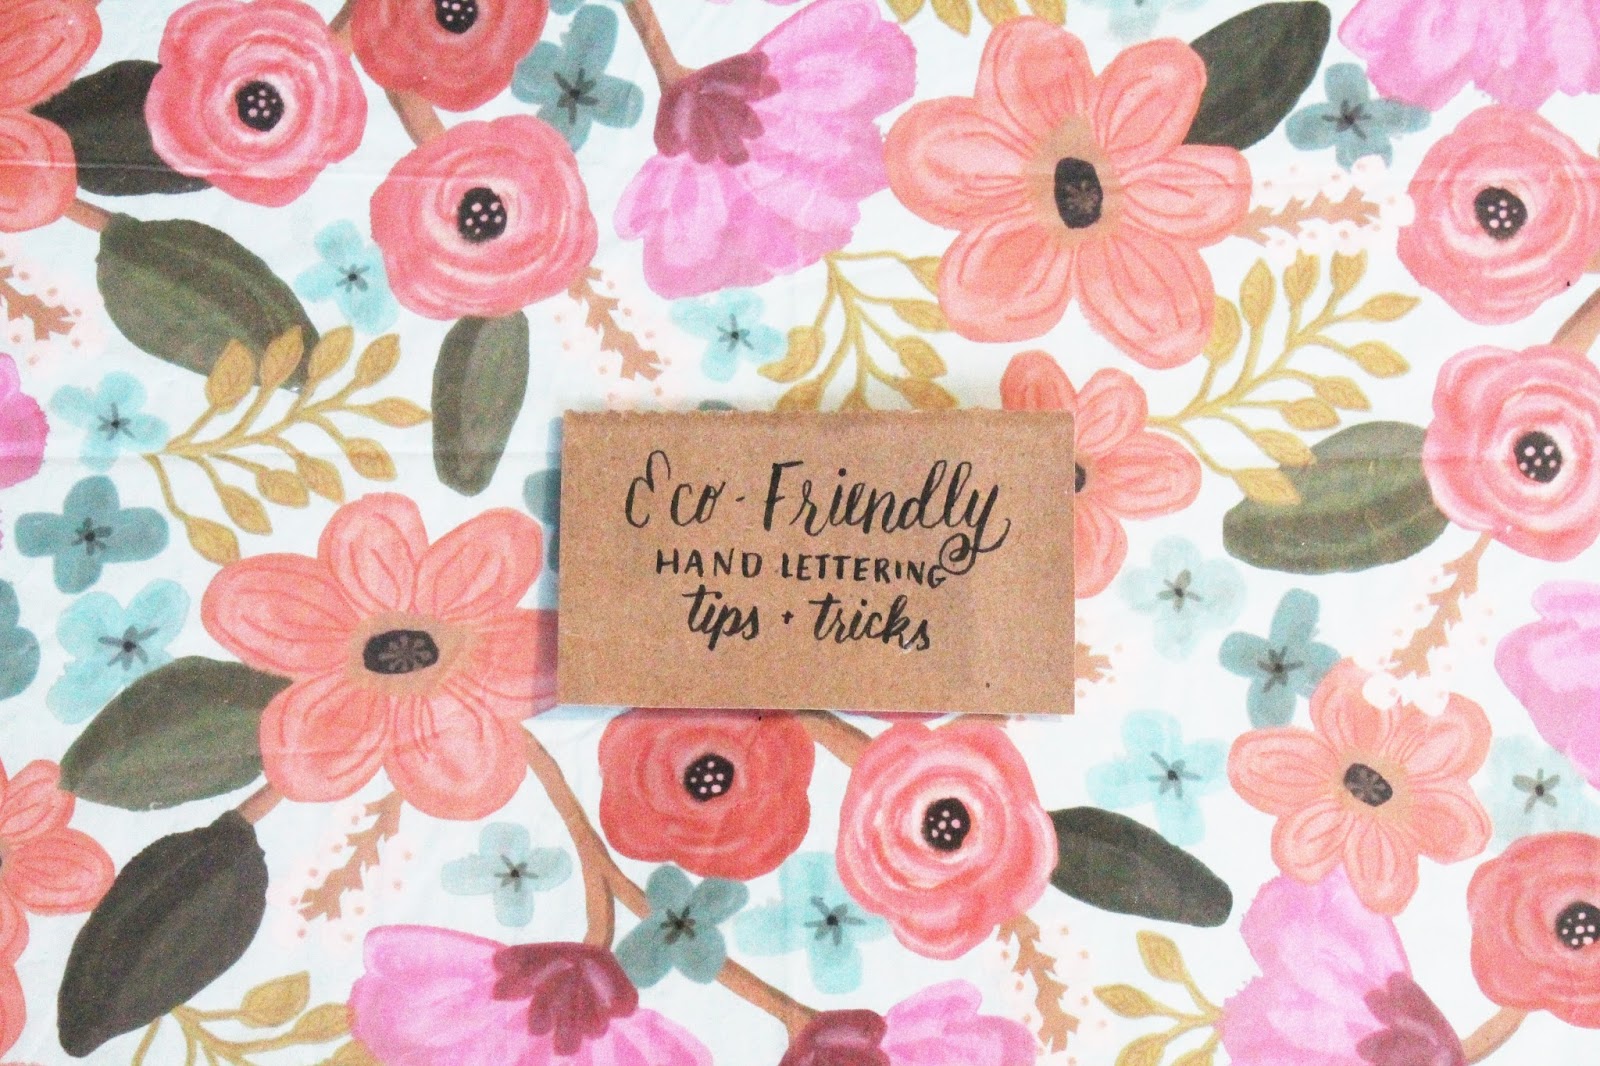
Hello! Today I’m sharing some thoughts on two of my favorite things: art + earth! I have long been labeled the family hippie. I wear that title with pride, and today I hope to share a few ideas for my fellow lettering friends to practice your craft with some earth-conscious modifications.
A few years back, I started doing calligraphy + brush lettering. It’s a fun creative outlet, and I have really enjoyed the journey of learning a new craft. However, this particular type of art requires the use of a LOT of paper. Warm-ups, practicing, tracing…it definitely starts to add up.
Through a series of experiments, I have discovered a lettering hack where you can still practice your lettering while also loving our planet. This works best with brush lettering, but I also use it for calligraphy all the time.
Do you have a brown paper grocery bag? Perfect! Let’s get started!
You will need:
-a brown paper bag (I have found that the waxier the bag, the better)
-scissors
-lettering tools of choice (calligraphy + ink, brush tip pen, etc.)
First, you will need to cut your bag. Your first cut will be along the small side of the bag. Continue until you reach the bottom. Cut all the way around the bottom so that you have one open bag separated from the bottom of the bag.
If you would like to use the bottom piece, you can keep it and gently pull at the flaps until it comes unglued. If not, recycle the bottom or reuse for blotting and table cover.
Next, cut along all the creased lines so that there are two large pieces and two smaller pieces.
Voila! You are on your way to becoming an eco-friendly letterer! I have compiled some tips for using the brown paper bag for lettering. Here you go:
I always like to start by warming up with a few drills. The sides of the bag are a little too small for a proper lettering project, so I use the them for practice and warm-ups.
My text tip is to go SLOW. Honestly, the paper can be a little more catch-y than the smooth paper you can get from the craft store. To avoid having your nib catching on the paper, go slow. This will also help with your accuracy.
My final tip is to get creative with the weird, awkward spots. At the bottom of the sides, there are some extra folds that help the bag fold up efficiently. I can have a lot of fun getting creative with filling that weird space.
See? Just have fun with it!
Of course, I don’t always use a brown paper bag to practice, but I do try to switch it into my routine every once in a while. I do often use this technique for place card settings and party decorations–things that I know will just end up in the recycle bin.
Here’s an example of a recent Valentine’s party I threw:
In addition to creating place cards, I also created a backdrop of different quotes about love from some of my favorite people.
I’m interested to see any projects you do using this earth-friendly technique!
Enjoy!


 Welcome to my little blog!


