


Today’s post is a fun tutorial that is so simple that it should be labeled “This tutorial is so easy, just look at it and do it”. But that’s not really a thing.
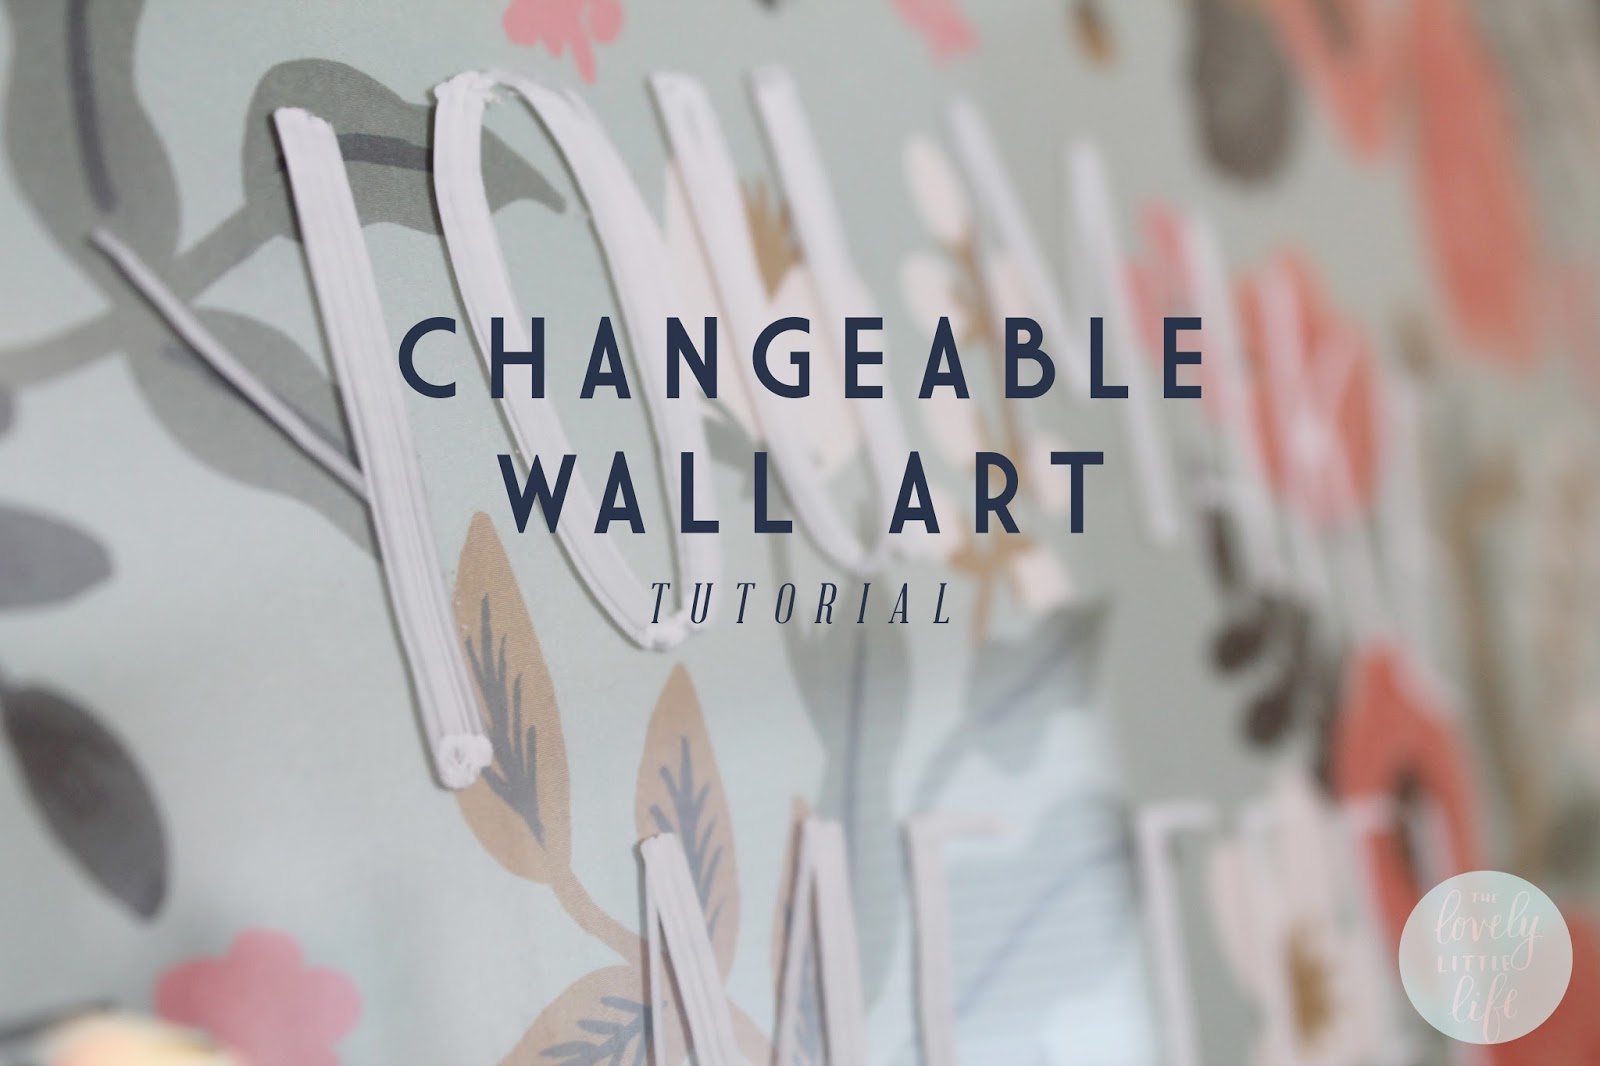
Anyway . . . I have this little nook in my apartment that is just perfect for a framed picture. However, it is the first thing you see when you walk in the front door, and sometimes I get bored looking at the same thing all the time. Enter changeable wall art. I framed a piece of cute gift wrap, lettered a fun quote on top of it, and voila! Instant art! When I get bored, I switch out the gift wrap for another sheet or change the quote. Voila! More instant art!
My husband loves to draw as well and sometimes instead of a quote we’ll have a drawing up for a while. We even sometimes write little love notes for the other to find. I love that this project is easy to switch up and just have some fun with.
Let’s get started!

You will need:
- A poster, abstract art print, or gift wrap sheet
(Here’s
where I got mine)
-A frame to fit your art print (I love this cheap IKEA frame)
-a Chalk Ink Marker in the color of your choice
-Practice sketch to get the spacing right
Go ahead a frame your art print. Because all of my prints are just paper-thin, I have a stack of 5 in the frame, and when I’m ready to switch things up I just take one from the back and move it to the front. Pretty sneaky, pretty smart. #justsayin’
I always start off with a rough sketch of my design to get the spacing right. I was feeling extra springy, and I l-o-v-e Frank Sinatra, so I decided to letter this quote:

(Looking to up your hand lettering game? Click here!)
Next up, inking your design. I love working with the plastic-y surface of the frame because it makes the writing surface nice and smooth. Additionally, because of the ultra-smooth surface, making a mistake is NOT a big deal! I just get a paper towel wet on one side and wipe clean any smudges or mess-ups.
As a tip at this stage, try working quickly, at least on the letter that you are currently working on. I find that if you try to go back and touch up or add to a letter that has already dried, because of the slick surface, it creates a whiteboard marker effect where the ink just kind of rubs off. Just do your best to work one letter at a time, and do not move on until you are satisfied with that letter.

As your final victory step, hang up your beauty and admire! It was difficult to capture the lettering in a picture without getting a reflection, but as you can see in the close-ups, it stands out really nicely. I am quite interested in trying a fun new color, perhaps gold?
The thing I love the most about this project is that the possibilities are seriously endless. You can mix up the quote, the color of the ink, the paper behind the quote, and then change it all up again a few weeks later!

Can we talk about that weird yellow circle on the wall at the bottom of the picture? What even is that? Some kind of archaic landline jack? It kind of looks like a little bear face up close, which is actually pretty cute. Old apartments, am I right?
I digress . . .
Here’s a close-up to show you how it looks in person:

To wipe clean, get a wet paper towel and wipe the entire surface. Then take another paper towel and dry it. Voila! Your canvas is blank once again and you are ready to create something new!

Also, can we just zoom up on that shelf of rainbowtized classics for a second? mmmmmm . . .

*
*
Thanks, Frankie, for being such a swell guy.

Have a lovely little day!
-Lauren

 Welcome to my little blog!


