Hello, friends! Welcome back to lovely little lettering. I know it has been a little bit over a week since the last time I updated–sorry! Life got a little crazy for a bit. Glad to be back! Today I’ll take you step-by-step through my process when I hand letter a quote. There is not a worksheet for today’s installment, because this process is all about CREATIVITY. Try it your OWN way!
My video explains the three steps I take when I decided how I will write my quote:
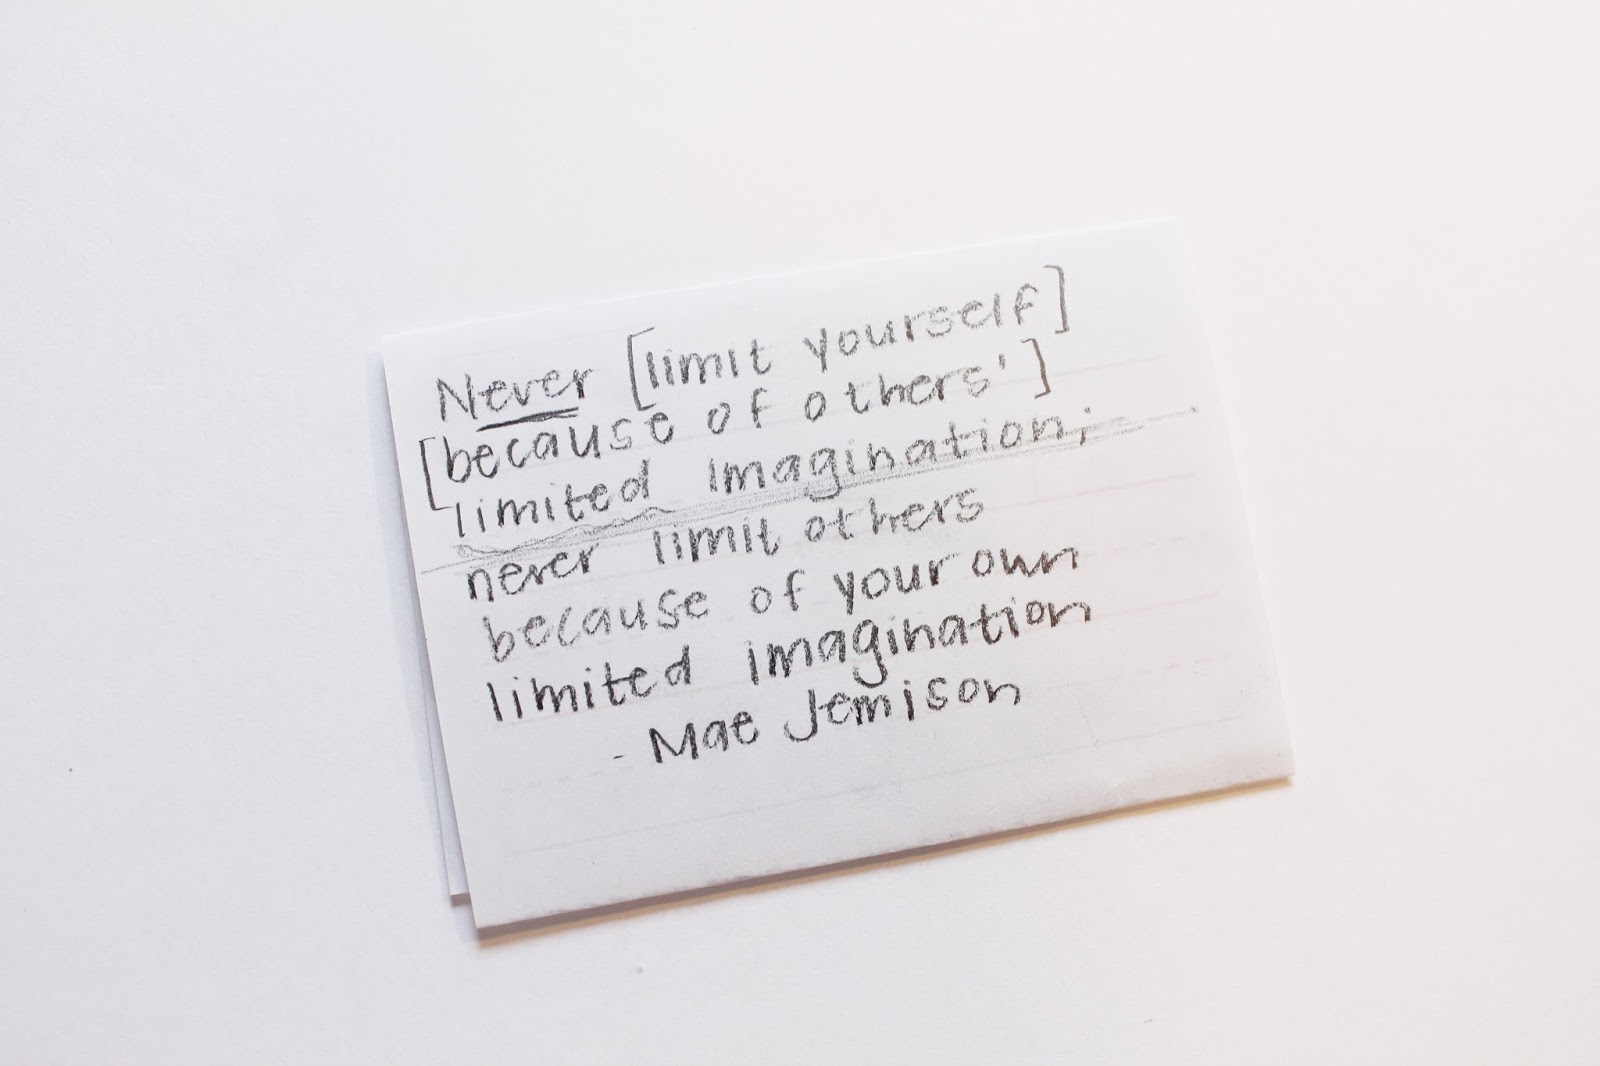
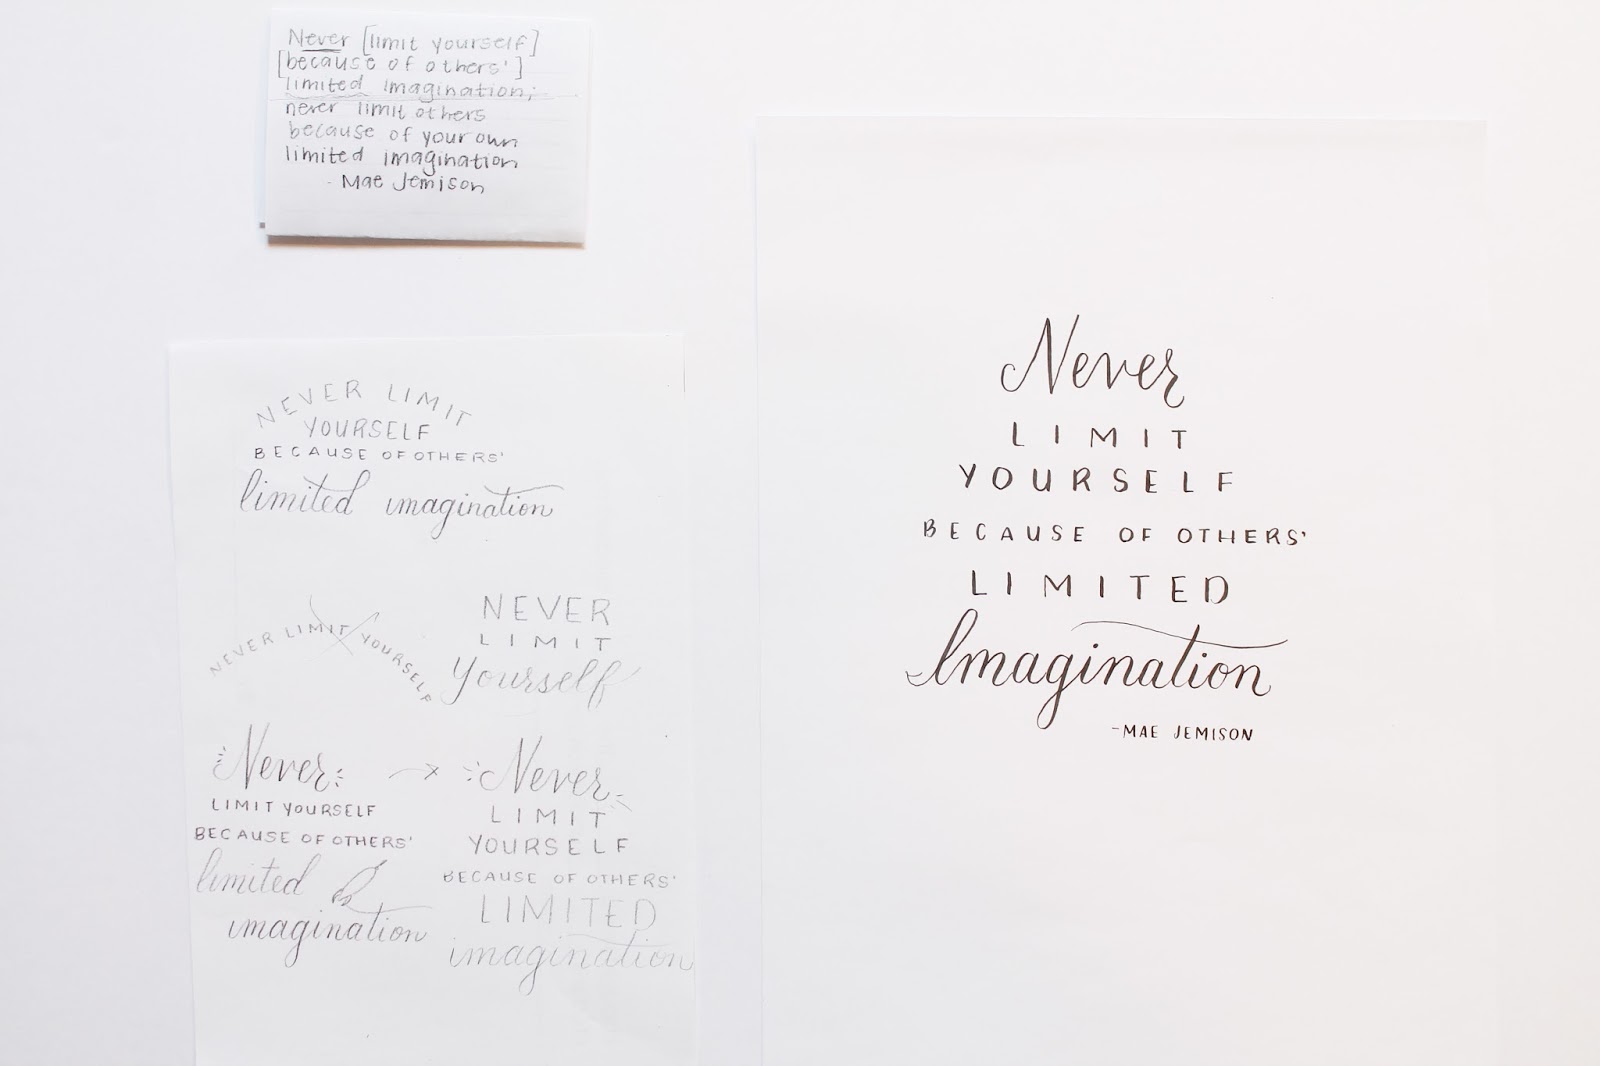
- Decide on a quote to letter. I either choose something that inspires me, or sometimes when I’m in a funny mood I’ll pick a silly quote that makes me laugh. I then decide which words are the most important, and I’ll emphasize these words
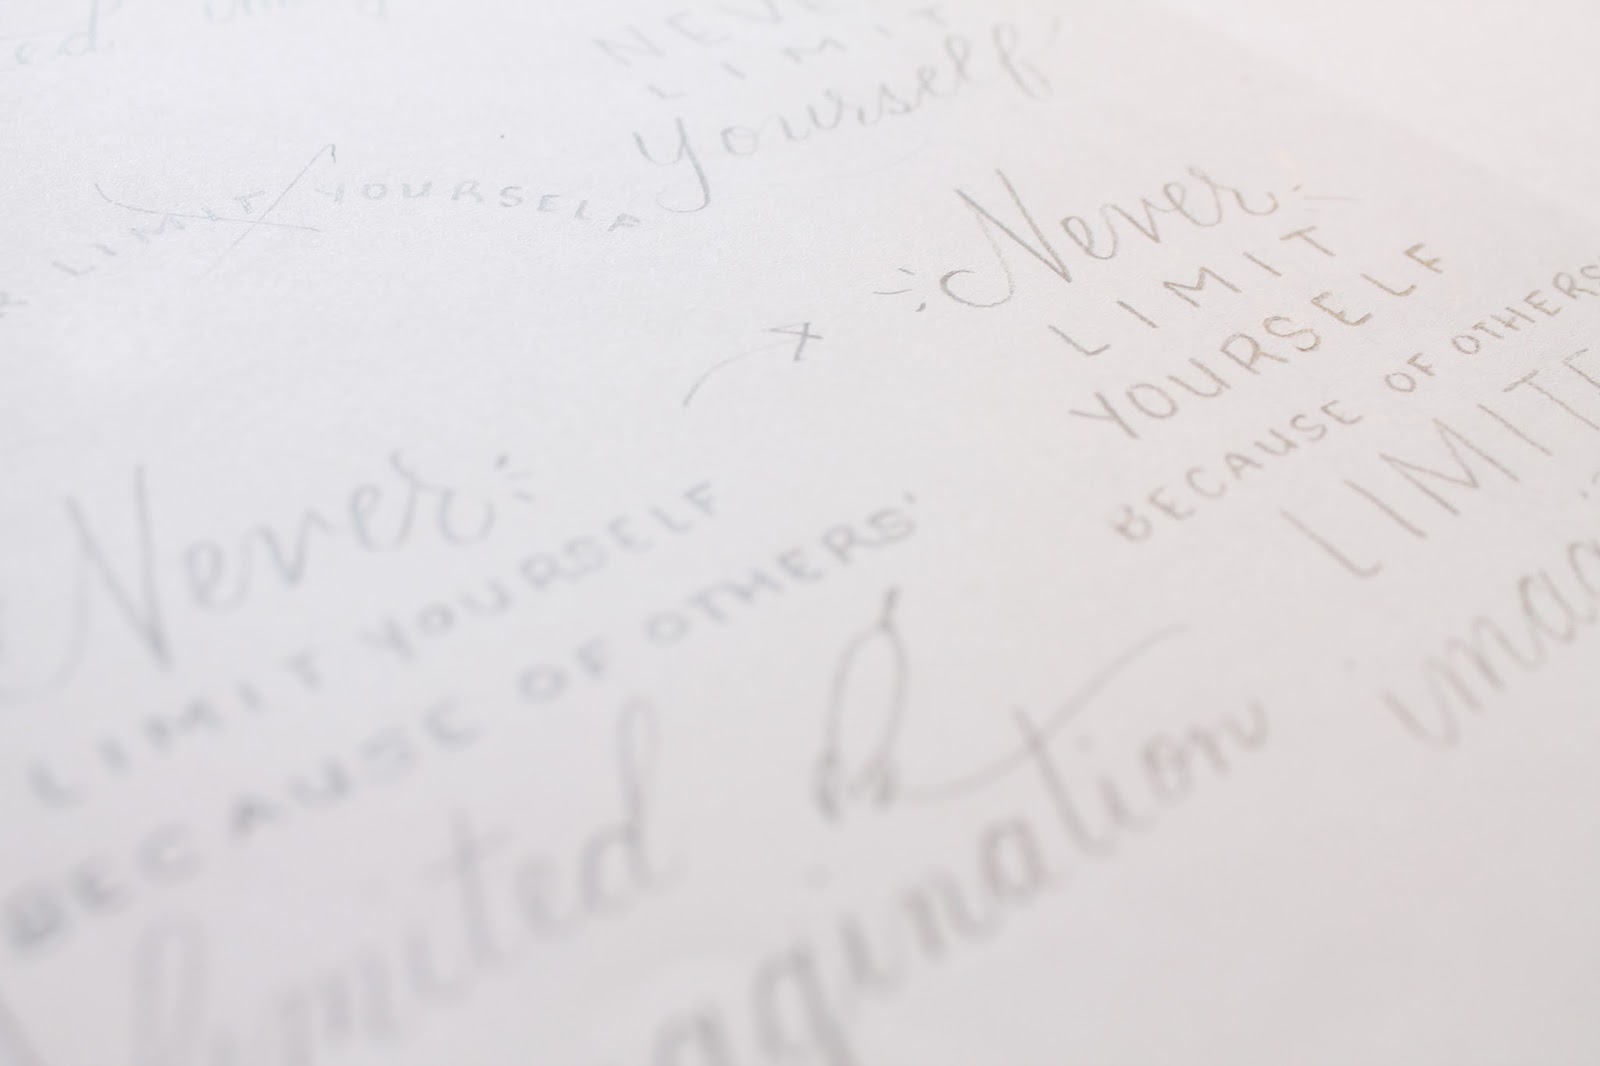
- I then try a LOT of different styles on a piece of scratch paper. I like to do this step in pencil, because I’m just trying things out. After a while of doing this, you’ll kind of find your groove and figure out what your “style” is, but even after all these years I love to try to letter the same thing at least 3 or 4 times to try new ideas!
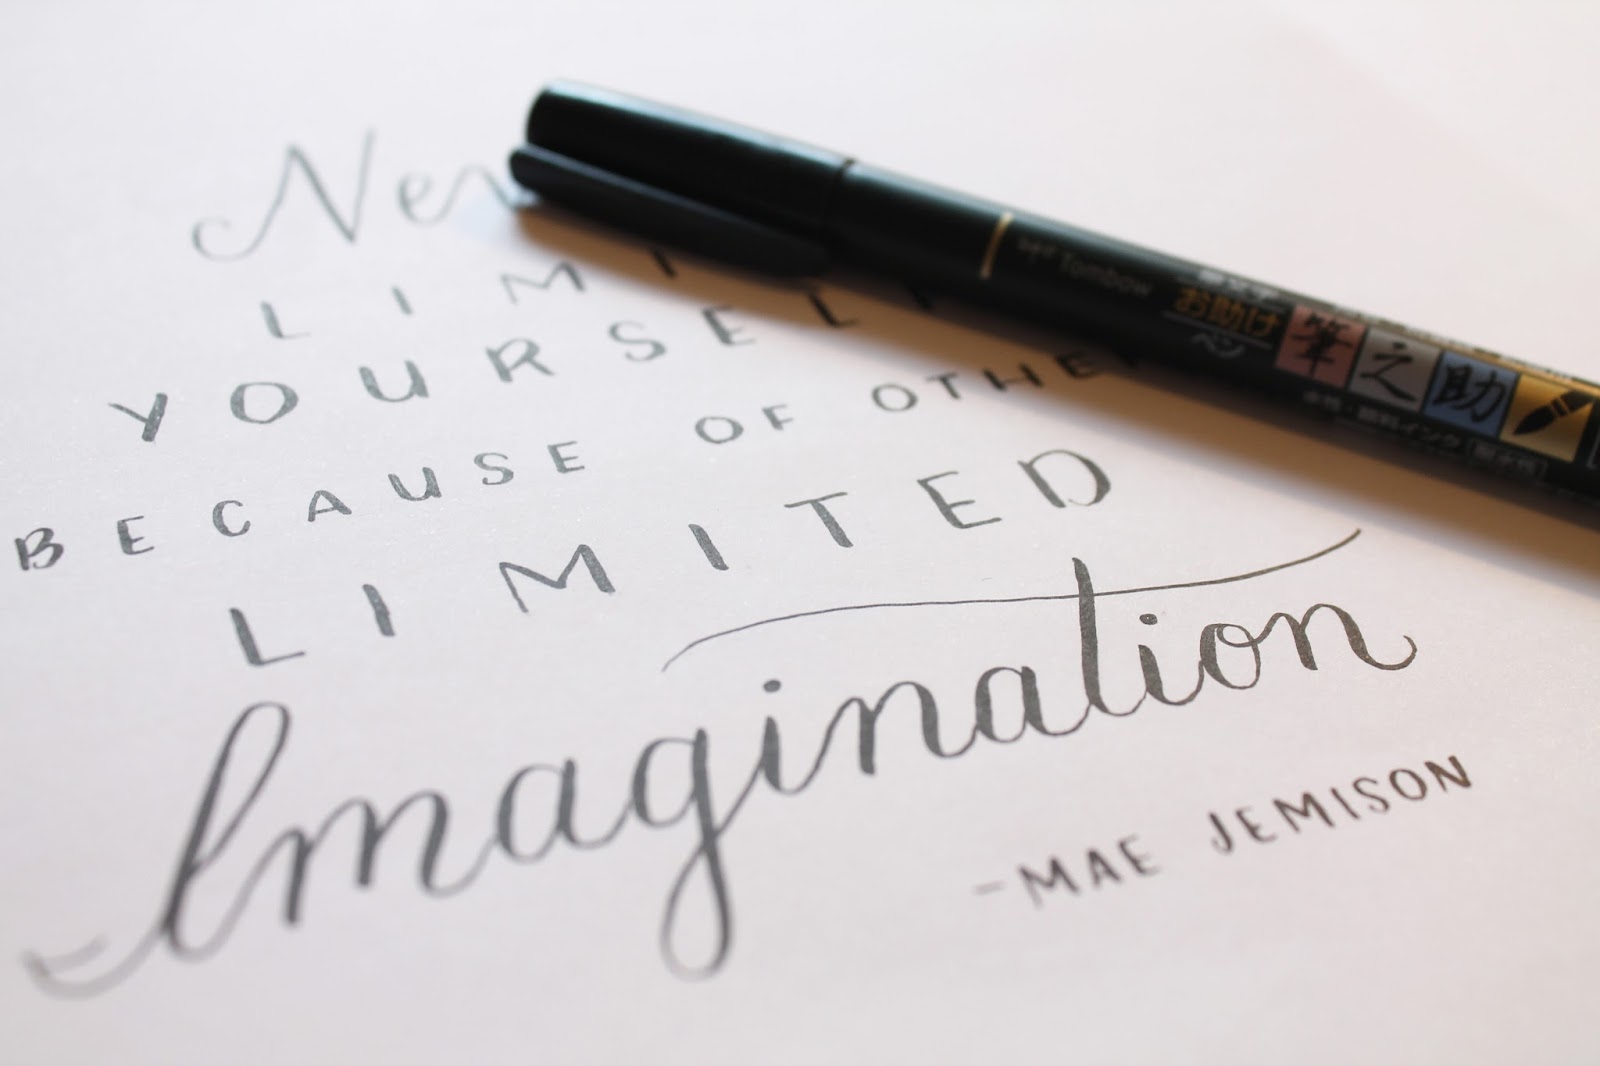
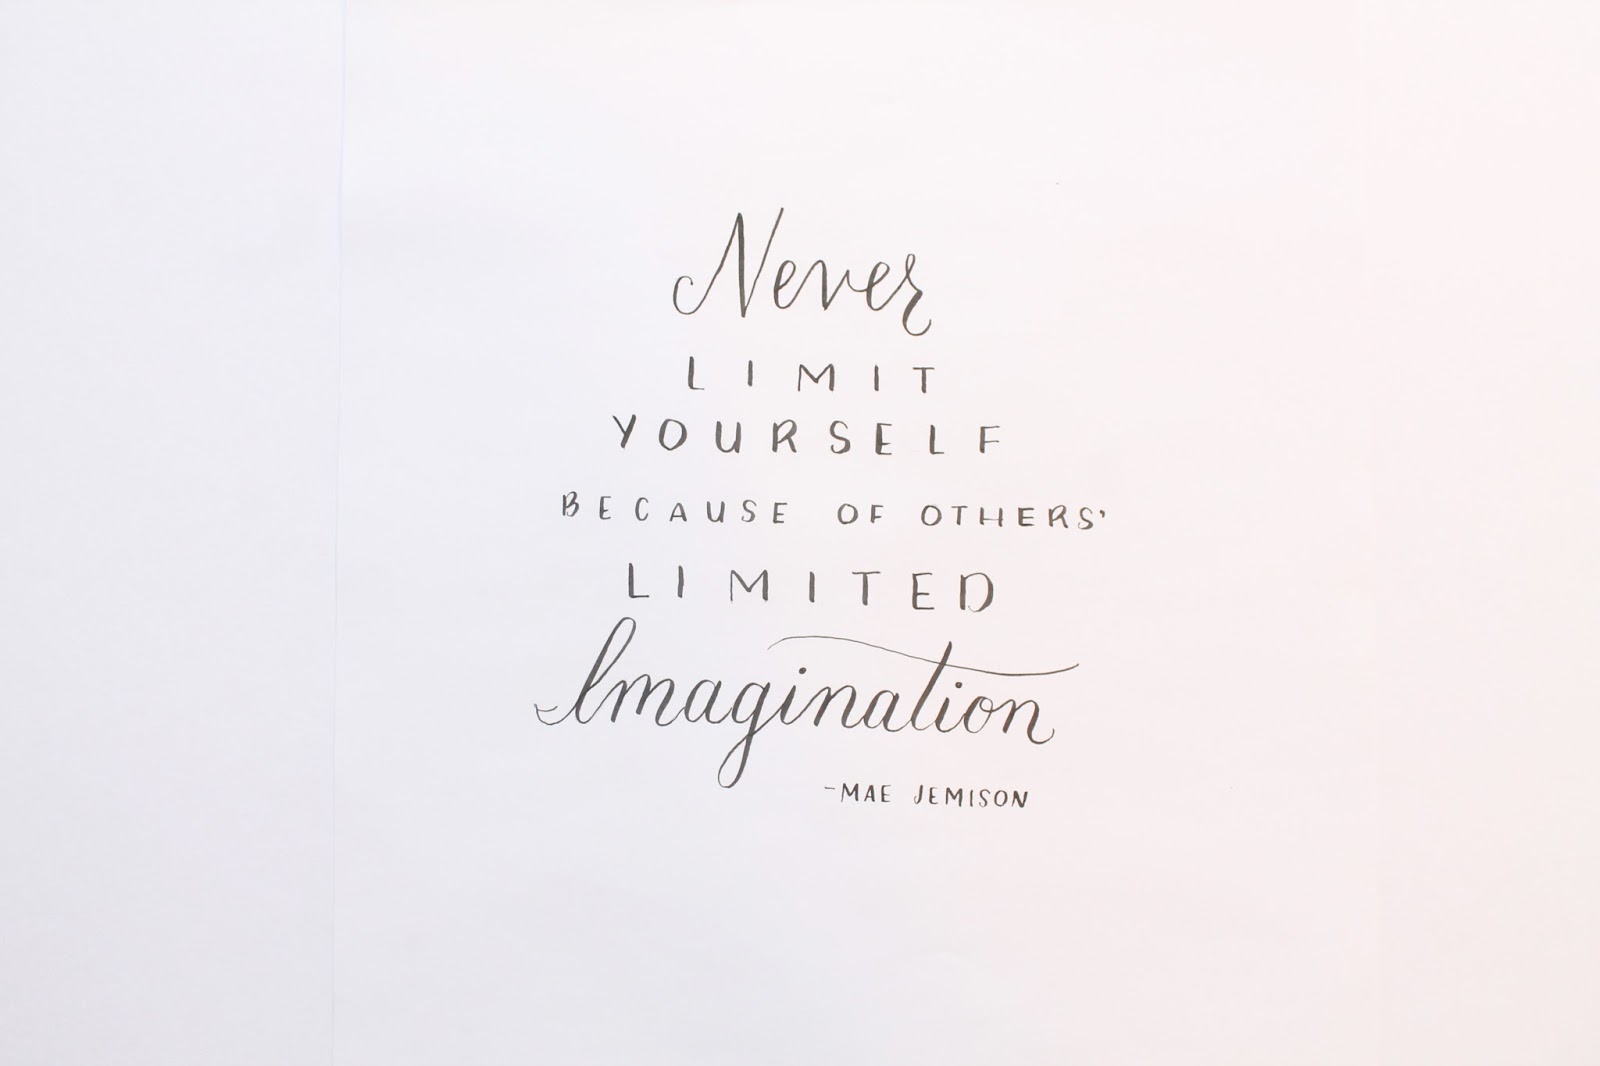
- Create your final draft. I write it first in pencil, being careful with spacing and placement. I then ink in my design with my brush tip pen. The final step is to erase your pencil marks.
Here is the step-by step video:
Here you can see the three steps I take: My quote where I have segmented the words into groups and decided which words need emphasis, my sketch paper where I tried a lot of different ideas and styles, and my final draft, where I make my neat, final copy.
I’m excited to see what you create! Feel free to tag me in your lettering instagram posts! @laureneolson
Have a lovely little day!
-Lauren





 Welcome to my little blog!


